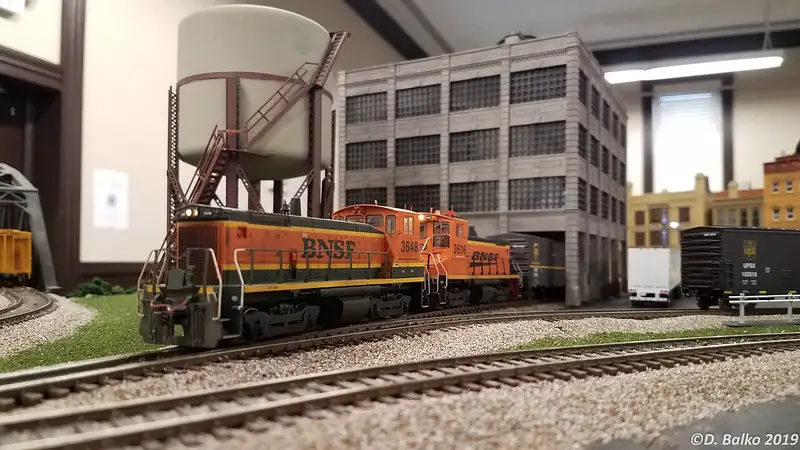
Having built your own model railway can be extraordinarily satisfying. Still, to really bring the railway to life you are going to need to figure out how to power it. If you don’t have a background working with wiring and electrical technology, this can be a daunting task. So, how exactly do you power a model railway?
A model railway can be powered by connecting a controller to the rails of your track. The controller is connected with two wires–one negative and the other positive. These wires cannot touch, otherwise, they will lose their polarity and thus lose their power.
If you’re looking to bring your model railway to life with some electricity, you’ve come to the right place. In our guide below we will discuss the basics of how you connect power to a model railway in the first place as well as how you deal with obstacles like points. So come along and let’s get your model trains back on track.

How Do You Connect Power to a Model Railway?
To connect power to your model railway, you will need both a circuit, a controller and possibly soldering equipment if your rails don’t already have power clips attached to them or you don’t want to add them.
Below, we’ve outlined the steps to connect power to a DC model railway so you can get started bringing your railway to life:
- Construct a circuit: A circuit just means your tracks come around and end where they started. If you don’t have a circuit but rather a track that only goes one way, you will need to make sure that you connect the wires behind where you want your train to run so the power reaches them. The advantage of a circuit is that the power travels around.
- Connect the wires of your controller to the circuit: You can connect these wires in many different ways. The most common is to plug them into the power clips that came with your track. If your track doesn’t have those, you will need to solder them to the rails directly. Just make sure they don’t touch as that will make them lose polarity.
- Swap the wires to change direction: If you want to make your trains move in the opposite direction, simply switch which rails the two wires are connected to and it will reverse course for your train. Of course, your controller can do this as well. But you want to make sure the directions match those of the controller.
If your train won’t run after you follow these steps, chances are something metal is bridging the gap between your oppositely charged rails. Always ensure they are not touching or being bridged by material that conducts electricity.
How Do You Wire Points on a Model Railway?
There are really two basic types of points; insole frog points and electrofrog points. Both of these can be useful, however, they deal with the issue of rails touching in different ways.
Below we’ve outlined both types of points and they are used to ensure that you don’t inadvertently short circuit your rails:
- Insole frog points: With insole frog points, you need to make sure there is a small plastic divider put in place to avoid your negative and positively charged rails from touching.
- Electrofrog points: Electro frog points are completely made of metal and always have power running through them. While electrofrog points have many advantages, they require some careful attention. You really have to pay attention to how you route power. It is recommended you use frog polarity to do so.
While both of these ways of wiring points on a model railway are useful, we recommended that beginners try insole frog points as they are less complicated and easier to get power to.
Should Your Model Train Accessories Run on the Same Power?
For your accessories, it is best that you find an alternative power source as if you have a lot of them they will be pulling power from your track. Many model railroad enthusiasts will actually mod regular chargers and power supplies to do just this.

So Really, How Do You Power a Model Railway?
Powering your model railway doesn’t have to be a giant headache. Once you have your circuit built from your track, you simply need a controller to get things moving. If your model railway doesn’t have built-in power clips or you don’t want to add them, you will also need soldering equipment. It is really recommended that beginners start with power clips as they are easier.
Once you have everything together, simply connect your wires to each of the rails–making sure they never touch–either through the power clips or by soldering each wire to each one of the tracks. Once your model train is wired up, you’ll be ready to show off your fully functional railway!